TPO and PVC membranes are the future of flat roofing. They are highly durable and come with outstanding warranties that you typically wouldn’t get with other flat roofing materials. We are certified installers for Weatherbond, meaning that you get a 20-year material warranty and a 20-year labor warranty when we install your new flat roof using Weatherbond materials. This comprehensive video will walk you through our roof deck inspection process, ice and water synthetic underlayment installation, and flat roof TPO or PVC installation. All of our flat roofs are installed with the highest craftmanship while paying attention to the details to give you a long lasting roof.
We hope you enjoy this article. If you are in Seattle or the Puget Sound Area and have questions about your roof, please contact us online or call us at (206) 312-7663 (ROOF).
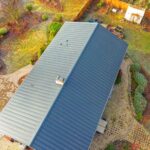
Three Tree Roofing's Installation Process for a Flat Roof using TPO or PVC on your home or business.
In this Roofing 101 article, we walk-through our roof installation process of Weatherbond PVC membrane on the roof of a residential home.
Step 1: Onsite Safety

We use safety cones as a perimeter around the building with caution tape to prevent anyone from getting hurt in the event that debris falls from the roof during tear off. We also have a safety monitor onsite, who helps the crew make sure they are not getting too close to the edge. They act as an extra set of eyes to make sure everyone on the roof is being safe.
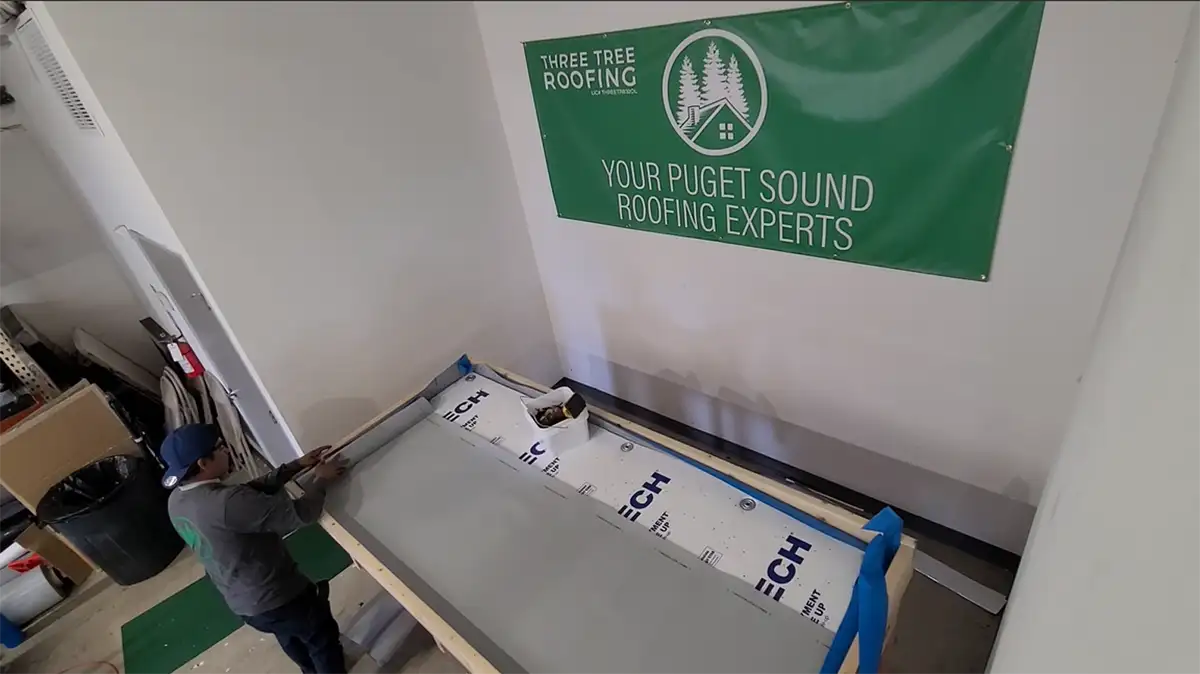
Step 2: Installing Synthetic Underlayment
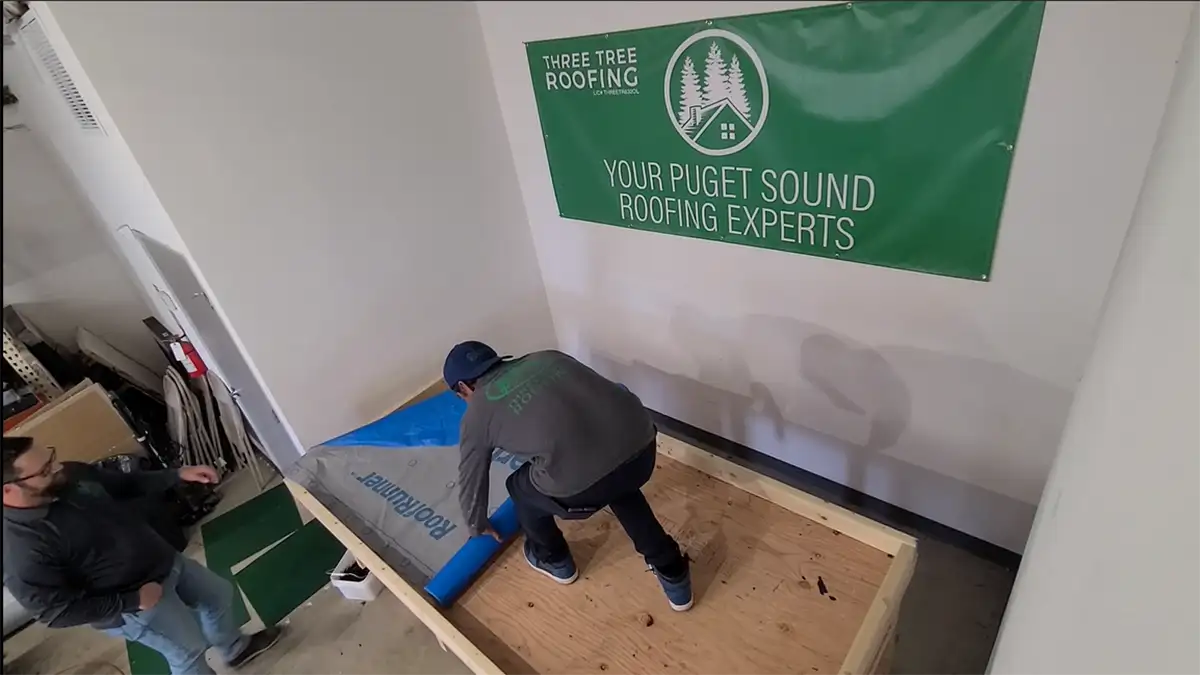
A synthetic-fabric underlayment is installed directly to the roofdeck to act as a paper barrier for the fanfold and material.
Step 3: Installing Fanfold
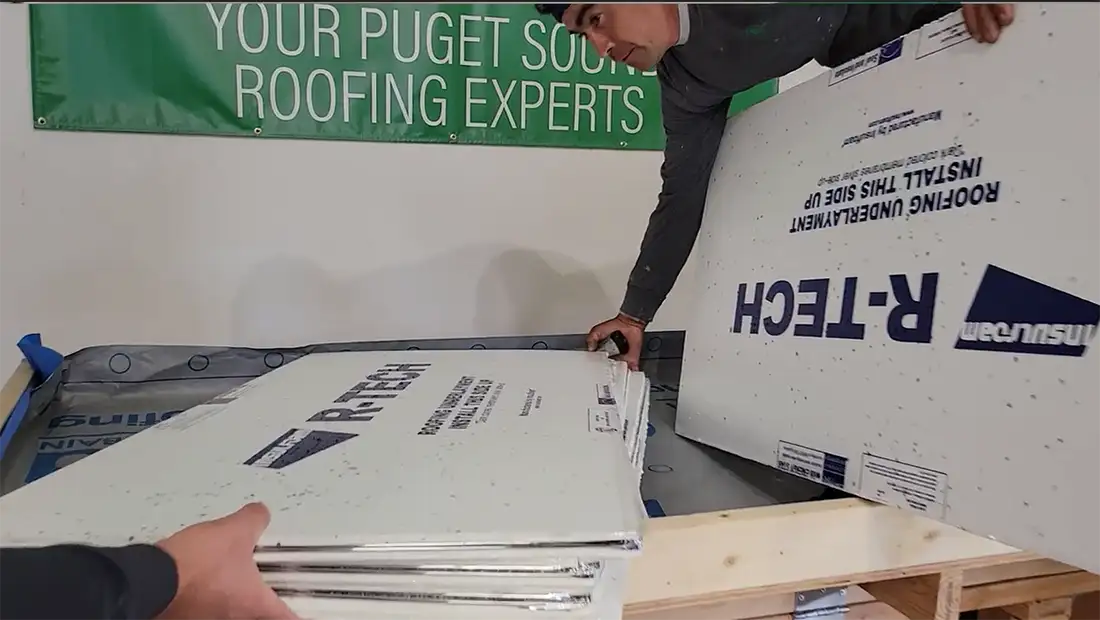
This is a half inch piece of styrofoam that is designed to add R-value to insulation, and act as a barrier between the plywood and the membrane material. This is a safe surface to install the membrane so it can’t get punctured by splintered plywood or nailheads.
The fanfold is secured to the roof deck with metal plates. This acts as an anchor to hold the fanfold to the roof deck so the membrane is installed to a secure surface. The plates we use have a recessed center where we screw the fanfold into the plywood. This is used so we can still maintain a flat surface, without the possibility of the screw heads snagging on the membrane.
Step 4: Install Scuppers
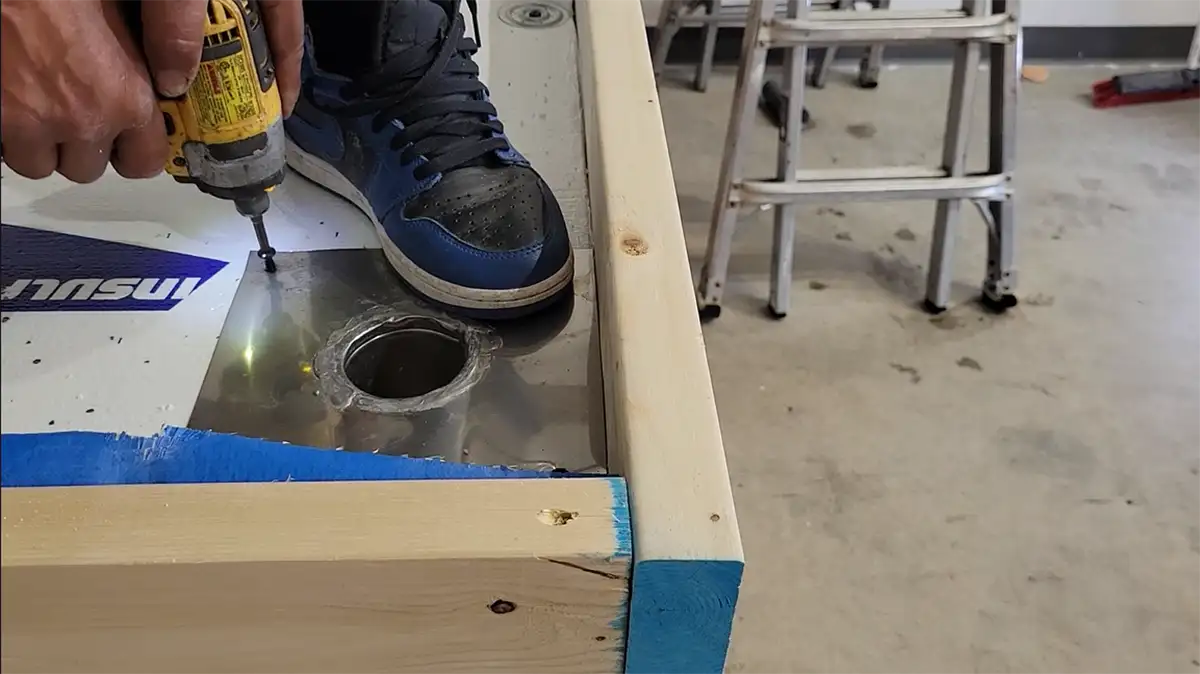
On a flat roof, the scupper is your drain. It pokes through the roof in the gutter area and is attached to a downspout, funnelling the water into your drainage system. The scuppers we use are stainless steel. Once the scuppers are installed into the roof, we install a custom made scupper liner that is designed directly from the manufacturer that goes in our scupper. This protects the entire system, and can prevent leaks as opposed to other installation methods many other contractors use.
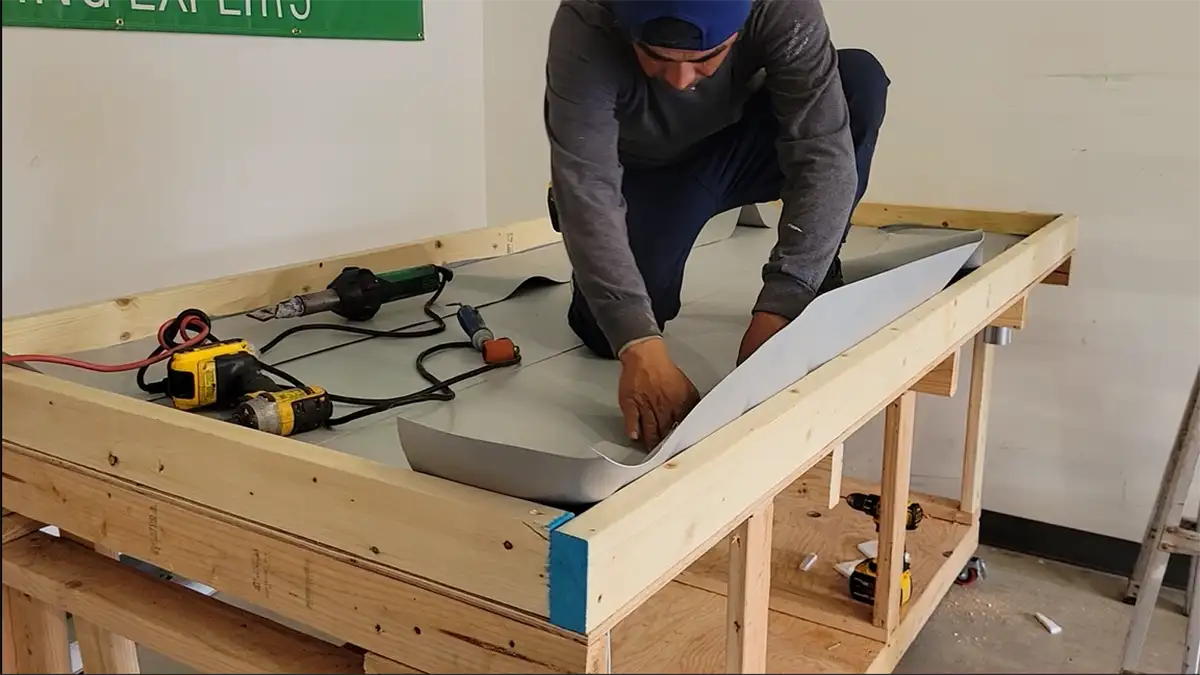
Step 5: Install PVC/TPO Field Material
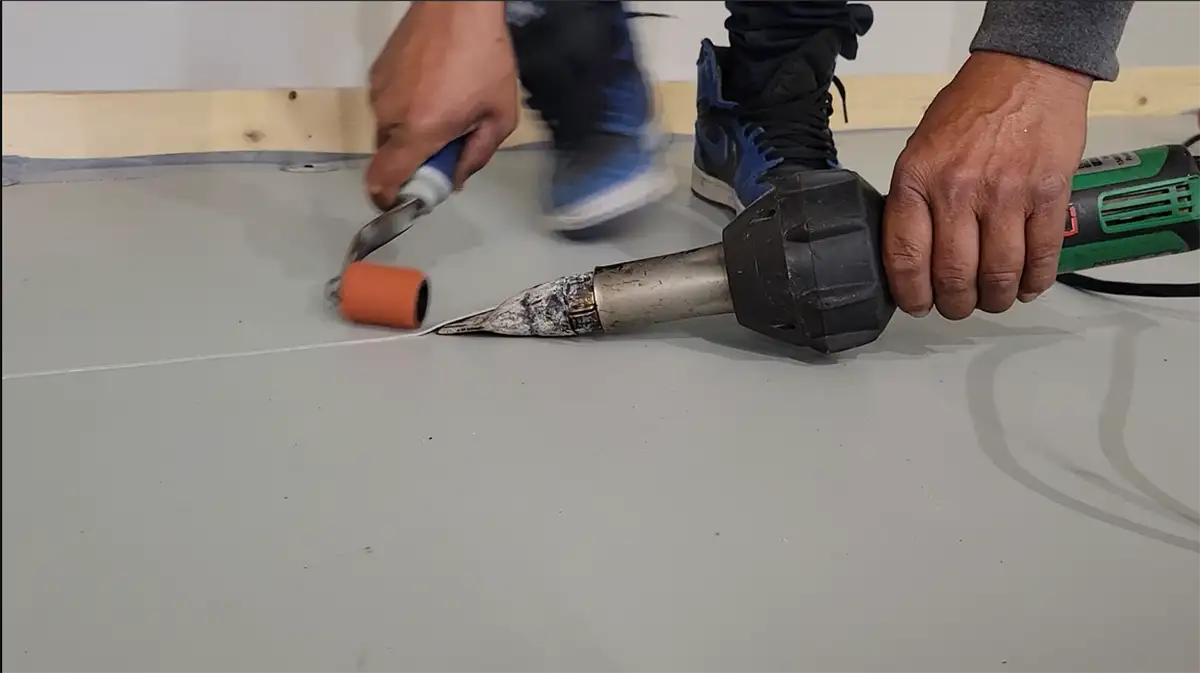
Once the underlayment, fanfold, and scuppers are installed, it is time to install our field material. This is the Membrane that is installed directly to the face of the roof. The outer edges of the field material are screwed directly to the fanfold, and any overlapping pieces of membrane are welded together with a leister.
Step 6: Install PVC/TPO Wind Strip
We now use screws and plates around the entire perimeter to secure the field material before installing the windstrips. Once the field material is screwed down, the wind strips are installed over those screws and plates, and over the edge of the roof coming down on the fascia.
Step 7: Installing T-Patches
This is a small circle of TPO or PVC that we install over intersecting lines of material on the roof. These are areas with multiple welds, and so we like to make sure these areas are extra protected by welding this T-Patch to those intersections.
Step 8: Installing Custom Corner Pieces
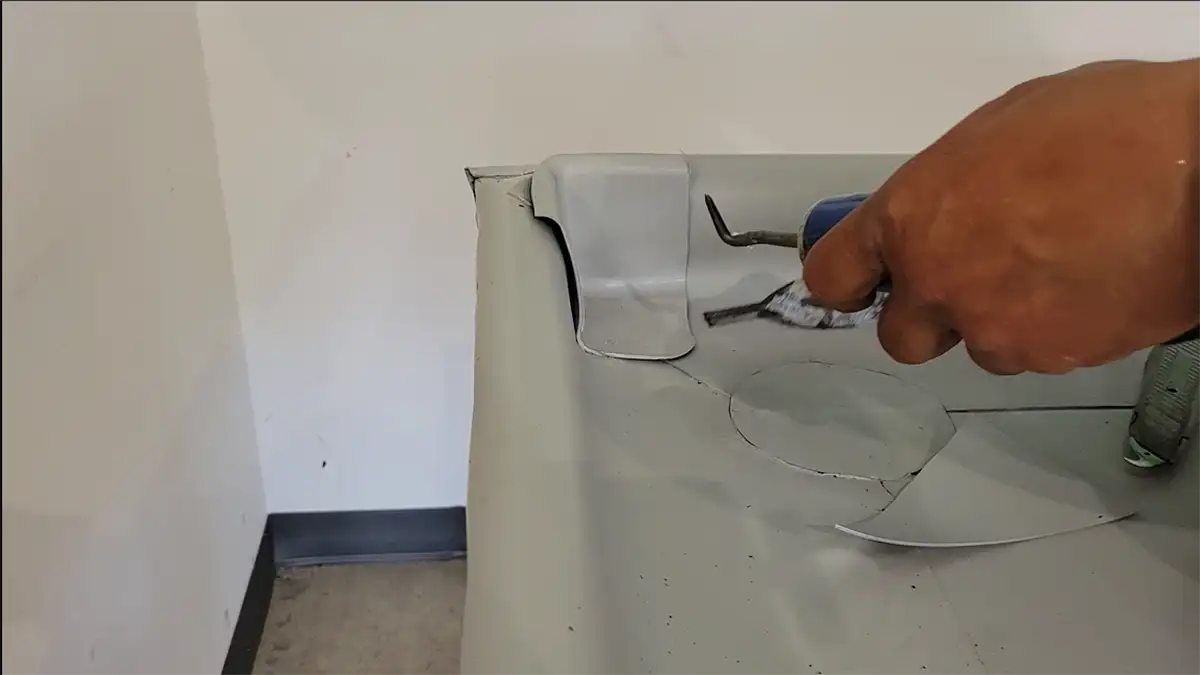
We get pre-manufactured corners that we weld directly to the corner. As it is before, it is water tight. This is an extra step that we do to ensure that this roof is worry free for the customer.
Step 9: Installing Scupper Liner
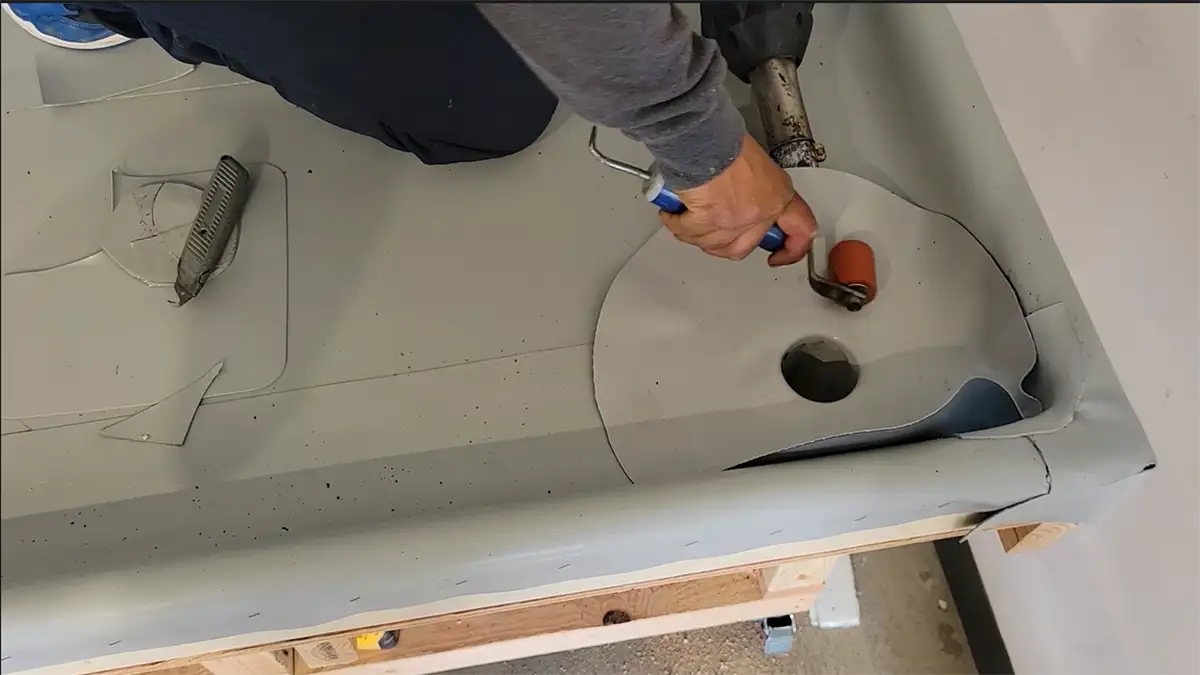
This is a crucial step to securing the integrity of a flat or low-slope roofing system. The roof will fail if a scupper liner is not used. Rainwater needs to have a place to drain effectively, and many contractors will rely on slice holes in a piece of membrane rather than a liner. This is not a long-term solution, and by using these liners you get a functional, long-lasting roof with an outstanding warranty.
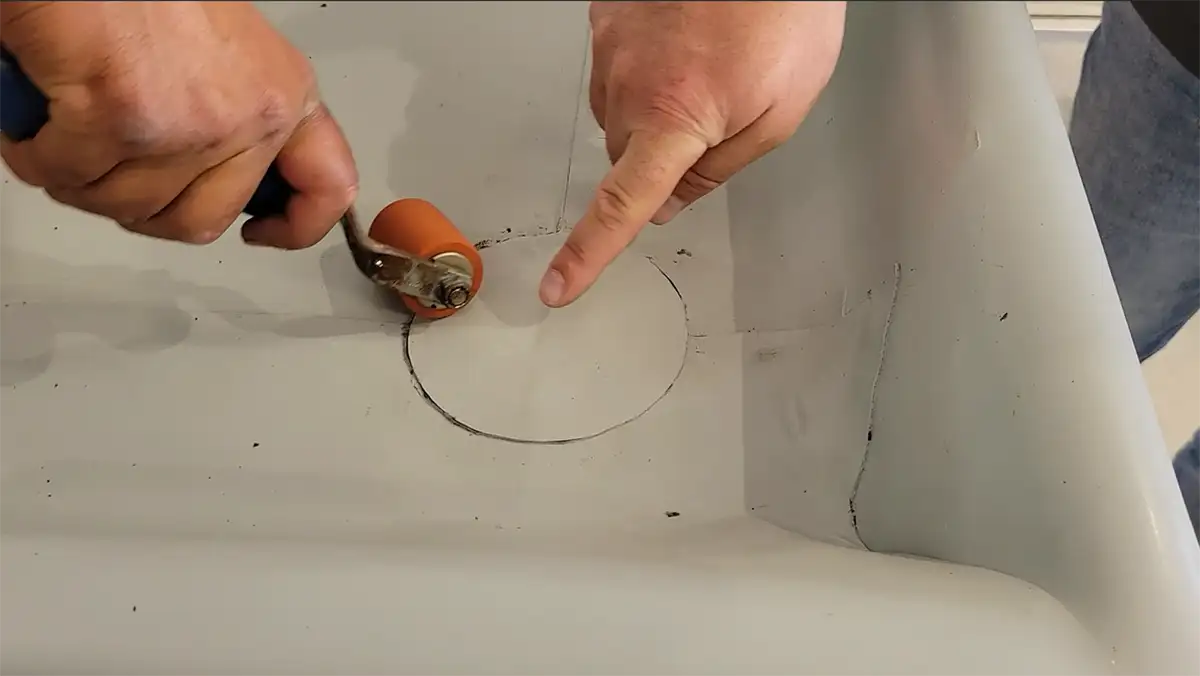
Step 10: Installing Membrane Breather Vents
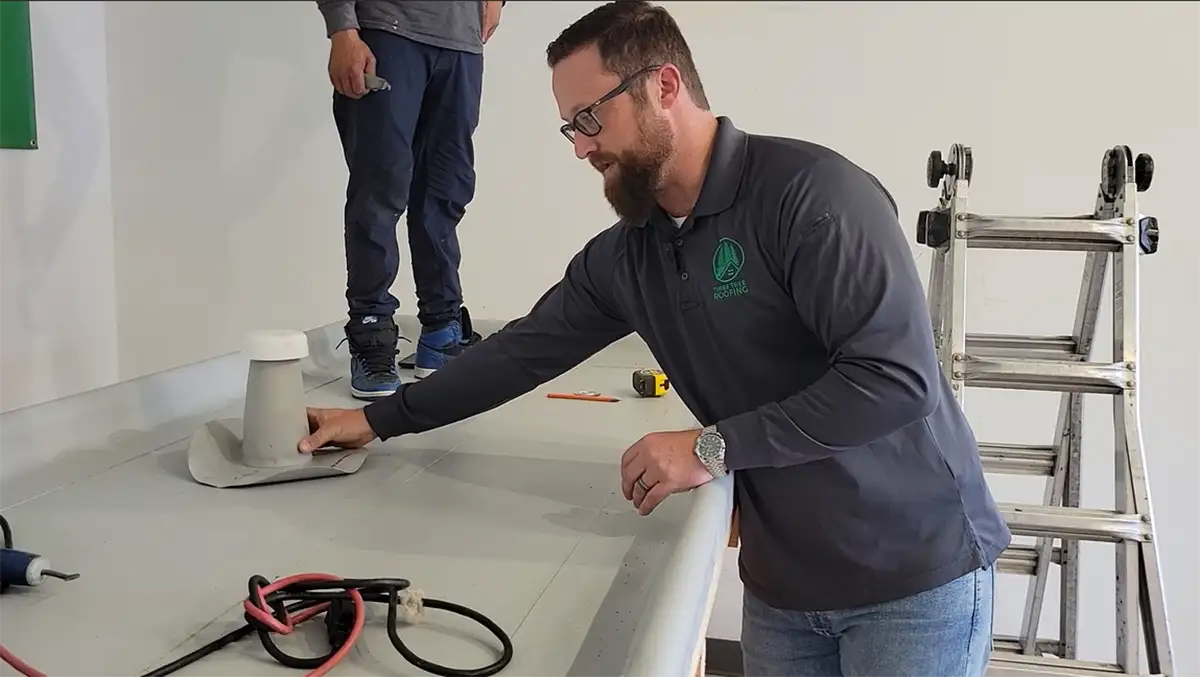
The membrane breather acts as a vent to help the membrane sitting on top of the fanfold to breathe. This helps against condensation and moisture that can build up under the membrane and could cause a leak. We open up a small patch of material and fanfold and install the membrane breather over that open area. This is welded directly to the field material.
Step 11: Install Fascia-Cap Metal
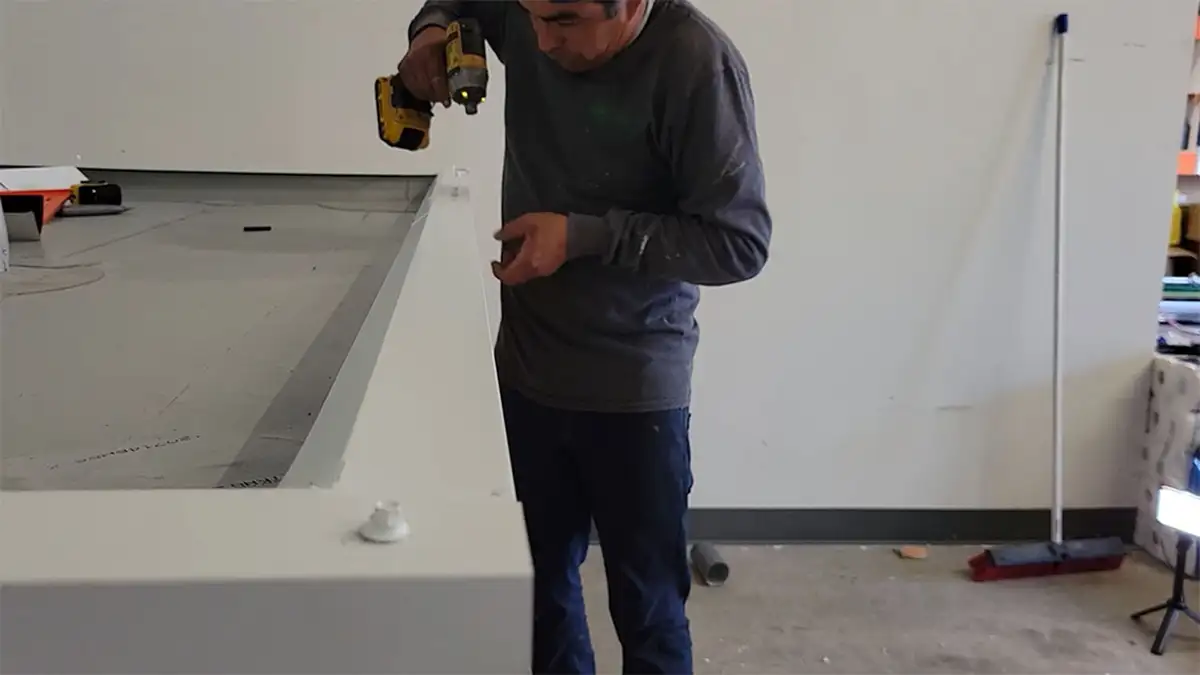
The final step is to install the fascia-cap metal. We use 26-gauge, baked enamel steel that will last a long time. Our dedicated installers take the time to measure everything out and cut this onsite to directly fit the perimeter of the roof. We use grommeted screws with a rubber gasket. The rubber gasket squishes against the metal, preventing any water from getting into the system.
We hope this article was educational and provided a clear view of what you can expect when Three Tree Roofing replaces your roof. If you enjoyed this article, check out our other Roofing 101 articles:
- Roofing 101: Three Tree Roofing - Roof Installation Overview
- Roofing 101: Composite Asphalt Shingle Roof Installation - CertainTeed Landmark
- Roofing 101: Composite Asphalt Shingle Roof Installation - CertainTeed Presidential
- Roofing 101: Metal Roof Installation - Nu Ray NRM-1000 Standing Seam Metal
- Roofing 101: Cedar Shake Shingle Roof Installation - Hand Split Cedar Shake
- Roofing 101: Flat Roof Installation - Weatherbond TPO Flat Roofing Installation
If you are a customer and scheduled for a new roof, we look forward to seeing you, installing your new roof, and you seeing your home with it's new roof. If you are in Seattle or the Puget Sound Area and in need of a new roof, we hope you consider us for your roof replacement. For a no pressure free estimate contact us online or call us at (206) 312-7663 (ROOF).